How to hike to Castner Glacier and Castner Ice Caves in Alaska
Last Updated on December 4, 2024
Hiking to Castner Glacier and exploring the Castner ice caves makes for an epic winter Alaskan adventure in a unique environment. The shape, color and texture of the ice is fascinating to explore and makes for some truly amazing photography opportunities. Before you even get to Castner Glacier and the ice caves, you’ll be surrounded by the stunning mountains of the Eastern Alaska range, so the hike to get there is just as stunning as the glacier itself. This article will tell you how to get there, the best time to go and what to expect along the way, as well as how to find a guided tour to this stunning location.
The hike to Castner Glacier from Milepost 218 on the Richardson Highway (southeast of Fairbanks) is 2.5 miles round trip and is basically flat.
You’ll be in a remote wilderness area without cell phone service on an unmaintained trail, so you’ll need to be prepared to be self sufficient with plenty of clothing appropriate for the weather as well as food and water. The ice caves change a bit (sometimes a lot) from year to year, depending on if last year’s cave collapsed or was altered by melting over the summer season. Most years some sections collapse and the experience is different each winter. This is one of the many reasons it’s a good idea to go here with a guide.
The Castner Glacier area is the homeland of the Ahtna People and the Dene Nation.
Parking Pass: None
Dog Friendly: I do not recommend bringing a dog here do to the variable conditions of the hike as well as the hazards of the ice cave.
Cell phone coverage: None
Restrooms: None
Accessibility and Mobility: This is an unmaintained trail that is best hiked in winter, when the water of the creek is frozen. Deep snow or ice may make walking challenging. Entering the ice cave is inherently risky, with rocks and ice that can fall at any time as well as the danger of thin ice along the trail and in the cave. I recommend going with a guide to Castner Glacier.
- How to get to Castner Glacier
- How hard is the Castner Glacier hike?
- When is the best time to hike to Castner Glacier?
- Castner Glacier Ice Caves Trail Description
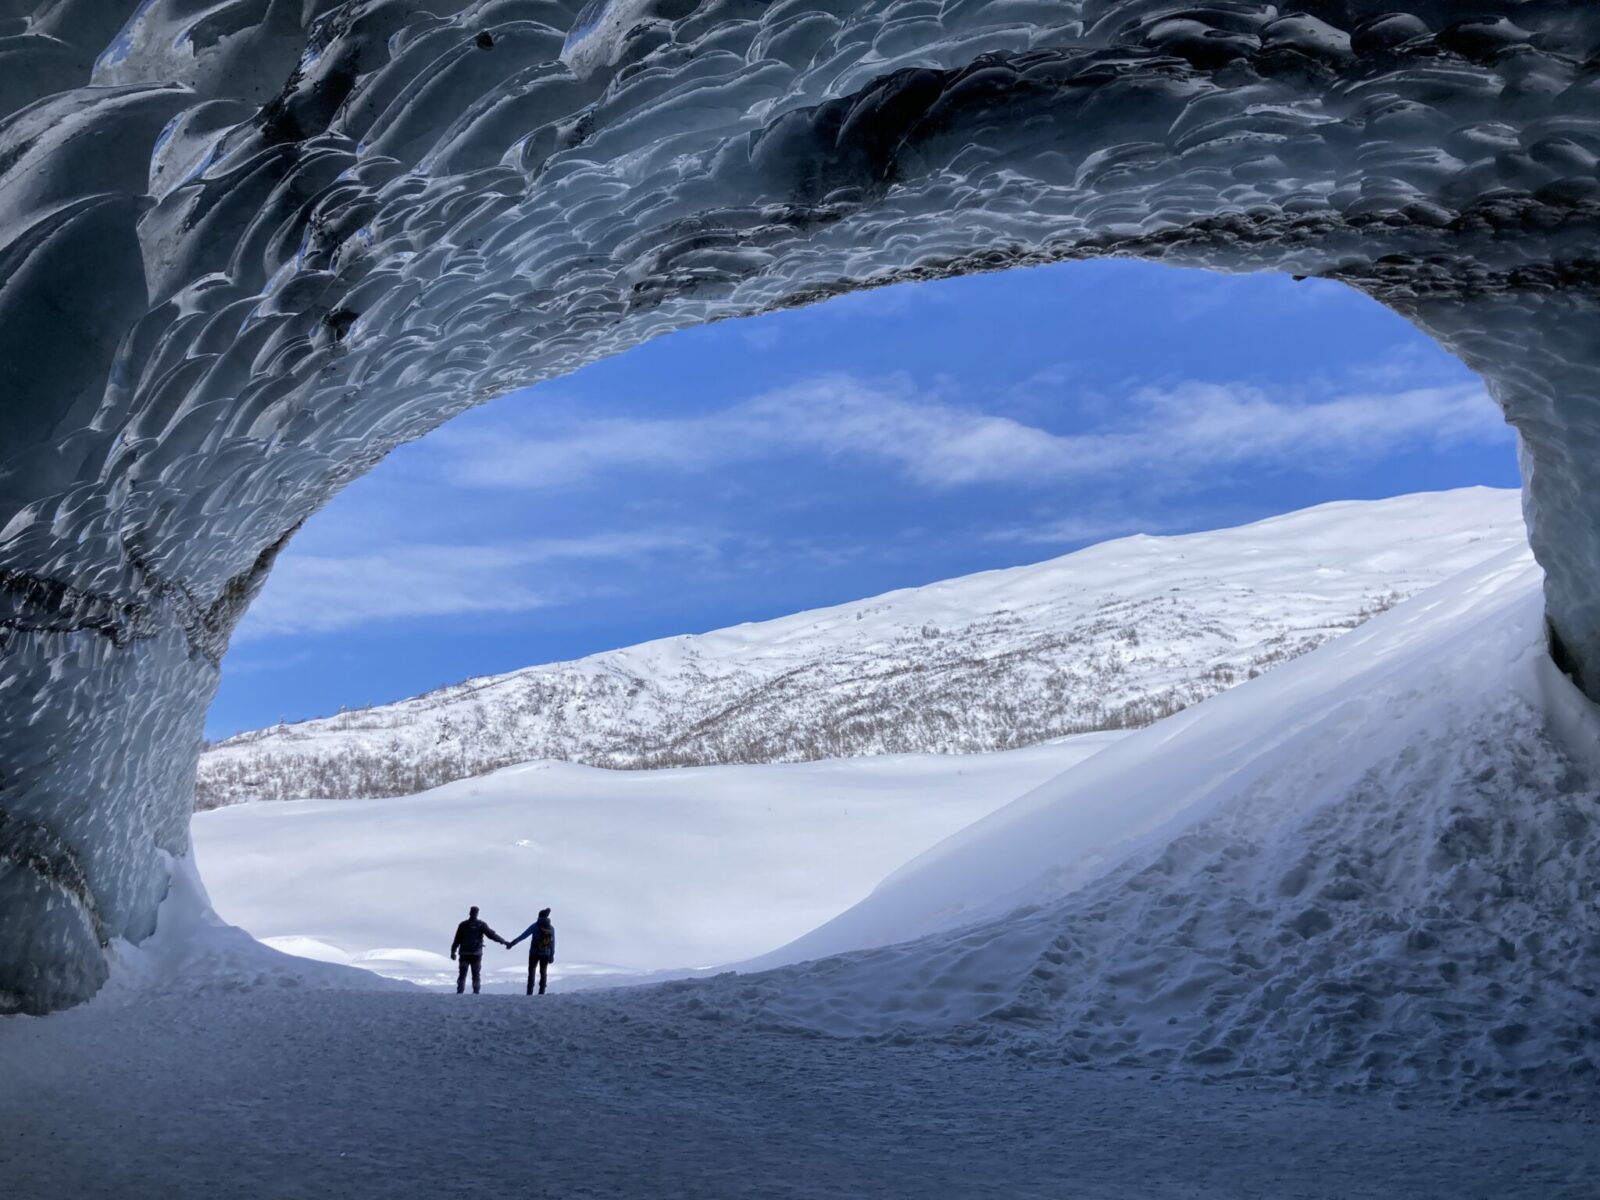
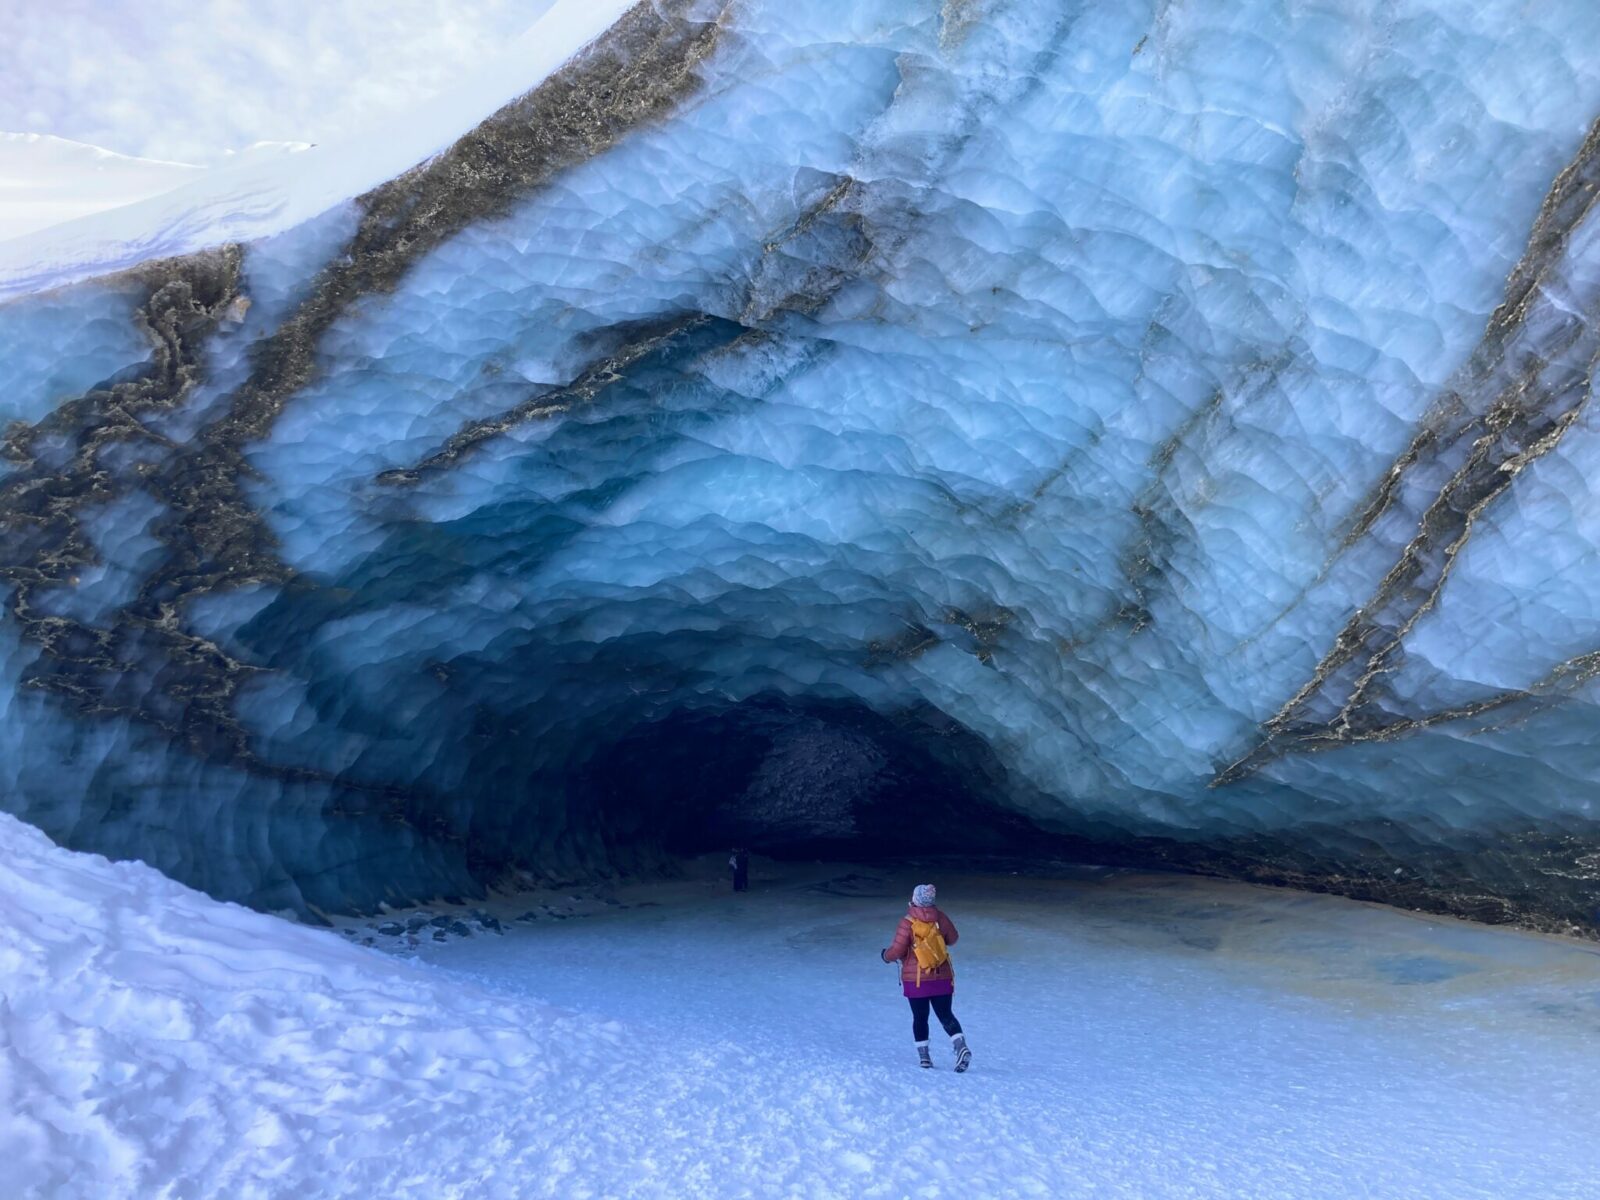
- Entering the Castner Ice Caves
- Castner Glacier tours
- What to wear and bring
- Where to stop after your hike
How to get to Castner Glacier
Castner Glacier makes for an excellent day trip from Fairbanks. It’s about a 2.5 – 3 hour drive each way (145 miles), depending on road conditions. You’ll need a car or if you’re taking a tour you can arrange for a ride at an additional cost.
To get there, head southeast from Fairbanks on the Richardson Highway, past North Pole, Eielson Air Force Base and Salcha. You’ll be driving along the Tanana River with better and better mountain views as you get closer to the Eastern Alaska Range. There are several pullouts along the way for picture stops.
In the town of Delta Junction, you’ll stay to the right to stay on the Richardson Highway (left goes towards Tok and is the beginning of the Alaska-Canada Highway, also known as the Alcan).
From Delta Junction, it’s about another hour’s drive with better and better mountain views. When you pass the Lodge at Black Rapids, you are getting close! Start paying attention to the milepost signs here, you’re heading to Milepost 218.
You’ll cross several more creeks, a pump station for the Trans-Alaska oil pipeline and a DOT maintenance facility just before you arrive. Crossing over Castner Creek, you’ll park on the right a short distance after the bridge. Make sure to park well off the road (outside the white line) and avoid areas signed no parking.
After you park, you’ll carefully cross the highway to start hiking on the other side, on either the north (in summer) or south (in winter) side of Castner Creek.
How hard is the Castner Glacier hike?
The hike from the highway to the end of Castner Glacier where the ice caves are located is 1.25 miles one way and doesn’t gain any noticeable elevation. However, it’s harder than it sounds due to the lack of a maintained trail and the potential for a lot of wind.
In winter, deep snow can make it more challenging and you need to use caution to stay on the packed “trail”. In summer, rushing water and loose rocks make the way more challenging than it would be on a maintained trail of the same length.
It will take longer than you might expect due to the conditions, so make sure to get an early start and give yourself lots more time than you think you’ll need to get back before dark.
When is the best time to hike to Castner Glacier?
This hike is best done in winter, when the frozen land and creek make it easier to navigate and easier to approach the ice cave. Deep winter can be extremely cold in interior Alaska (well below zero). I recommend going in late winter (late February and March) when the days are longer for driving and hiking and the temperatures are not quite as bitterly cold (though it can still be VERY cold and windy here).
If you go in summer, stay well back from the water and the cave unless you are traveling with a guide.
Trail Description
The trail to Castner Glacier is an unmarked and unmaintained trail on Bureau of Land Management Land. There are no toilets, trailheads, signs or guaranteed trails. The route is different in summer and winter, so make sure to take the best path for the season you’re in.

In either case you’ll park on the right side of the highway (coming from Fairbanks) just beyond the bridge over Castner Creek at Milepost 218 on the Richardson Highway. In the winter, there’s a plowed area with room for several cars to park. Regardless of the time of year, make sure your vehicle is not in the highway! Make sure you are parked fully clear of the road (outside the white line) and that you are not in a no parking area.
Winter Trail
For the winter trail, you want to be on the south side of the creek. Walk back toward the bridge and find the packed trail just on the near (south) side of the creek. Make sure to stay on the packed trail as deep snow or potential areas of open water in the creek could be right there.
It’s just over a mile following the packed trail to the toe of Castner Glacier where the cave begins. You can’t really see it until you’re right on top of it, but just keep following the trail which is flat until you get there.
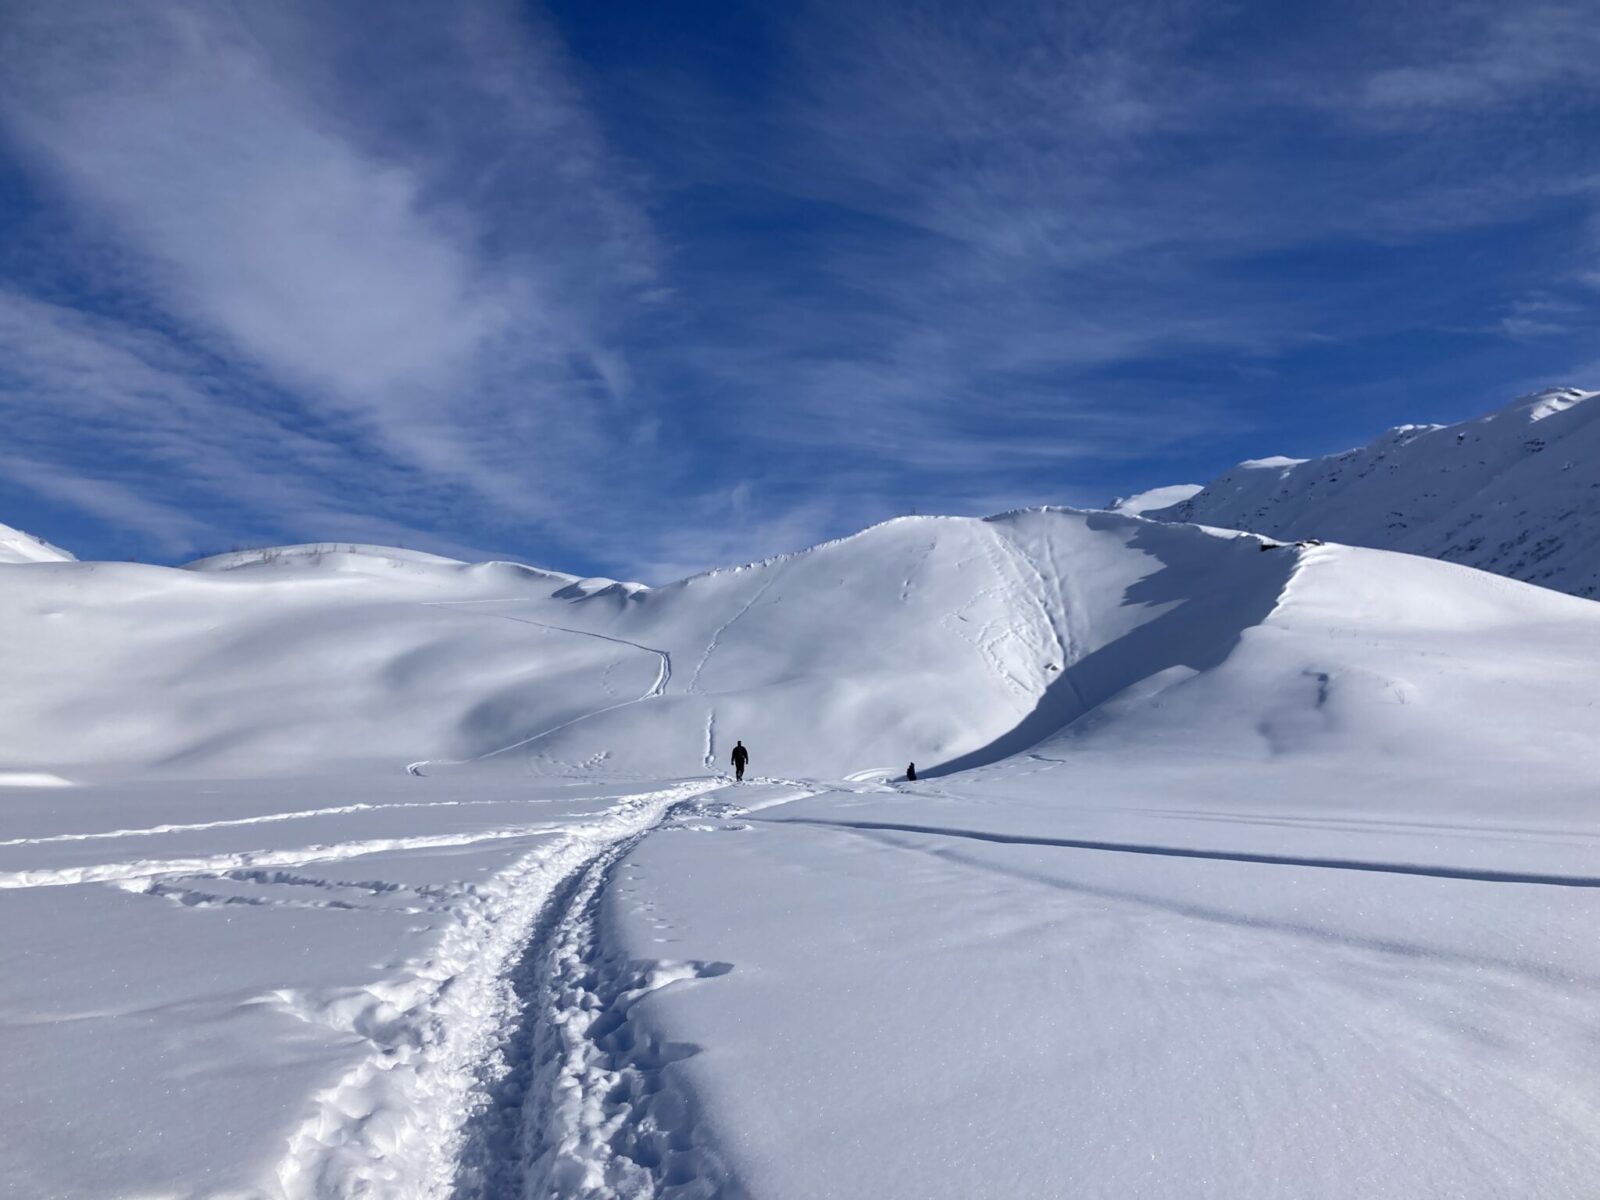
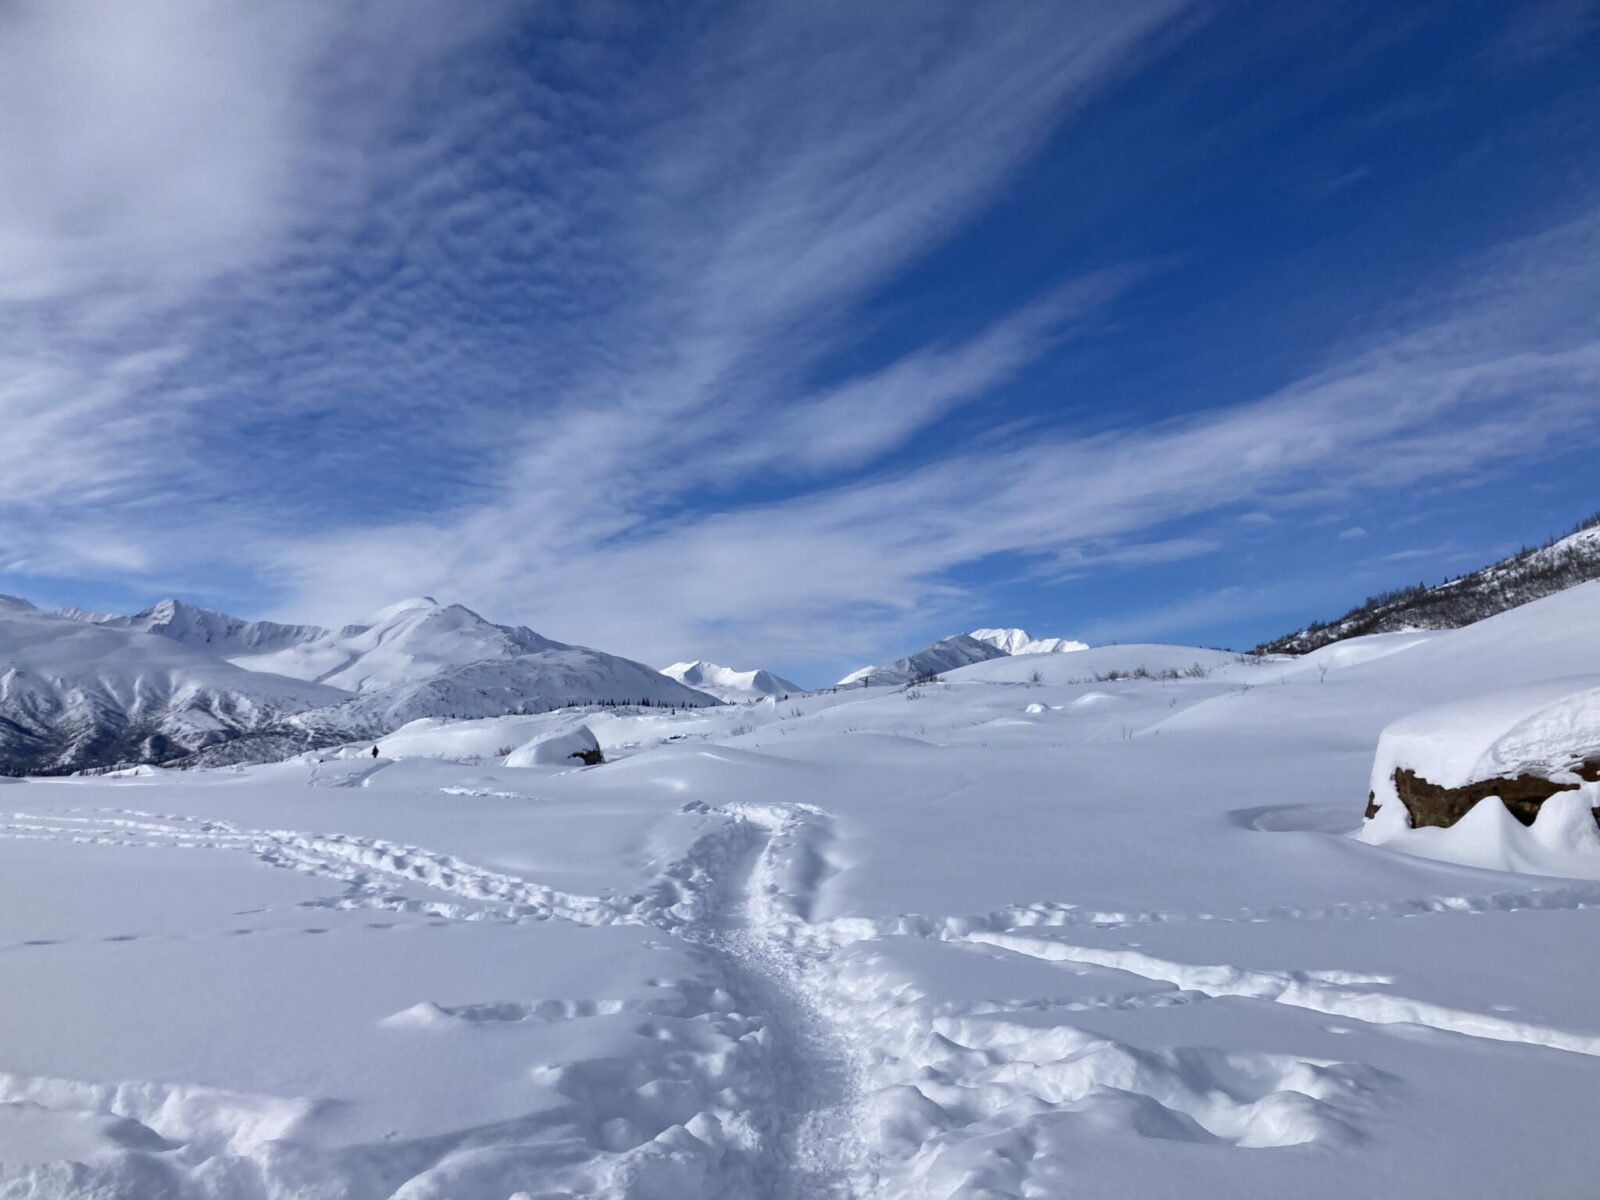
Make sure to look all around you at the amazing views of mountains in all directions!
When you arrive at the mouth of the cave at the base of Castner Glacier, you can either turn around here or you can venture into the ice cave. This is at your own risk! Keep an eye above you for any rocks that could fall and watch for thin ice and slippery areas on the ice floor of the ice cave. I do not recommend going into narrower spaces, stick to where you can comfortably stand up unless you are with a guide.

Summer Trail
In summer, you’ll need to hike along the north side of Castner Creek (the far side of the bridge from where you parked). In the summer the water can move very swiftly and you won’t be able to get across it later.
You’ll follow an old road for half a mile and then a boot path another half mile that takes you to the toe of the glacier. Follow the creek and it will get you there, but keep away from the edge and rushing water.
When you arrive at the edge of Castner Glacier and the outside of the cave, there may be a ton of water moving swiftly. Stay back from it unless you are experienced and prepared for creek crossings. The ice in the caves is much less stable in summer and there is a greater danger of rock and ice falling or cracking. For this reason, I don’t recommend entering the cave in the summer unless you’re with a guide (see below).
Entering the Castner Ice Caves

As I’ve mentioned a couple of times, entering an ice cave is always risky. It is much more risky in the summer, when rocks are more likely to fall and ice is shifting more. This does not mean this can’t happen in the winter, because it can, but it’s definitely less risky in the frozen winter months.
I do not recommend getting close to the glacier or going into the cave in the summer, unless you’re going with a guide (see below).
In winter, the packed down trail by other users leads you directly to the mouth of the ice cave at the toe of Castner Glacier. Use extreme caution in the cave and be aware of any rocks above that could fall as well as cracks or thin ice beneath your feet (a fast flowing creek in the summer). Bringing microspikes for walking on the ice is a good idea.
The exact size and shape of the Castner Ice caves, as well as how far you can go inside, vary quite a bit from year to year and season to season. I do not feel comfortable going into any tight spots where I can’t stand up so I stick to exploring the more open sections. I recommend that you do the same unless you have a guide to help you navigate further into the cave.
Going with a guide is always a good idea when going to an ice cave.
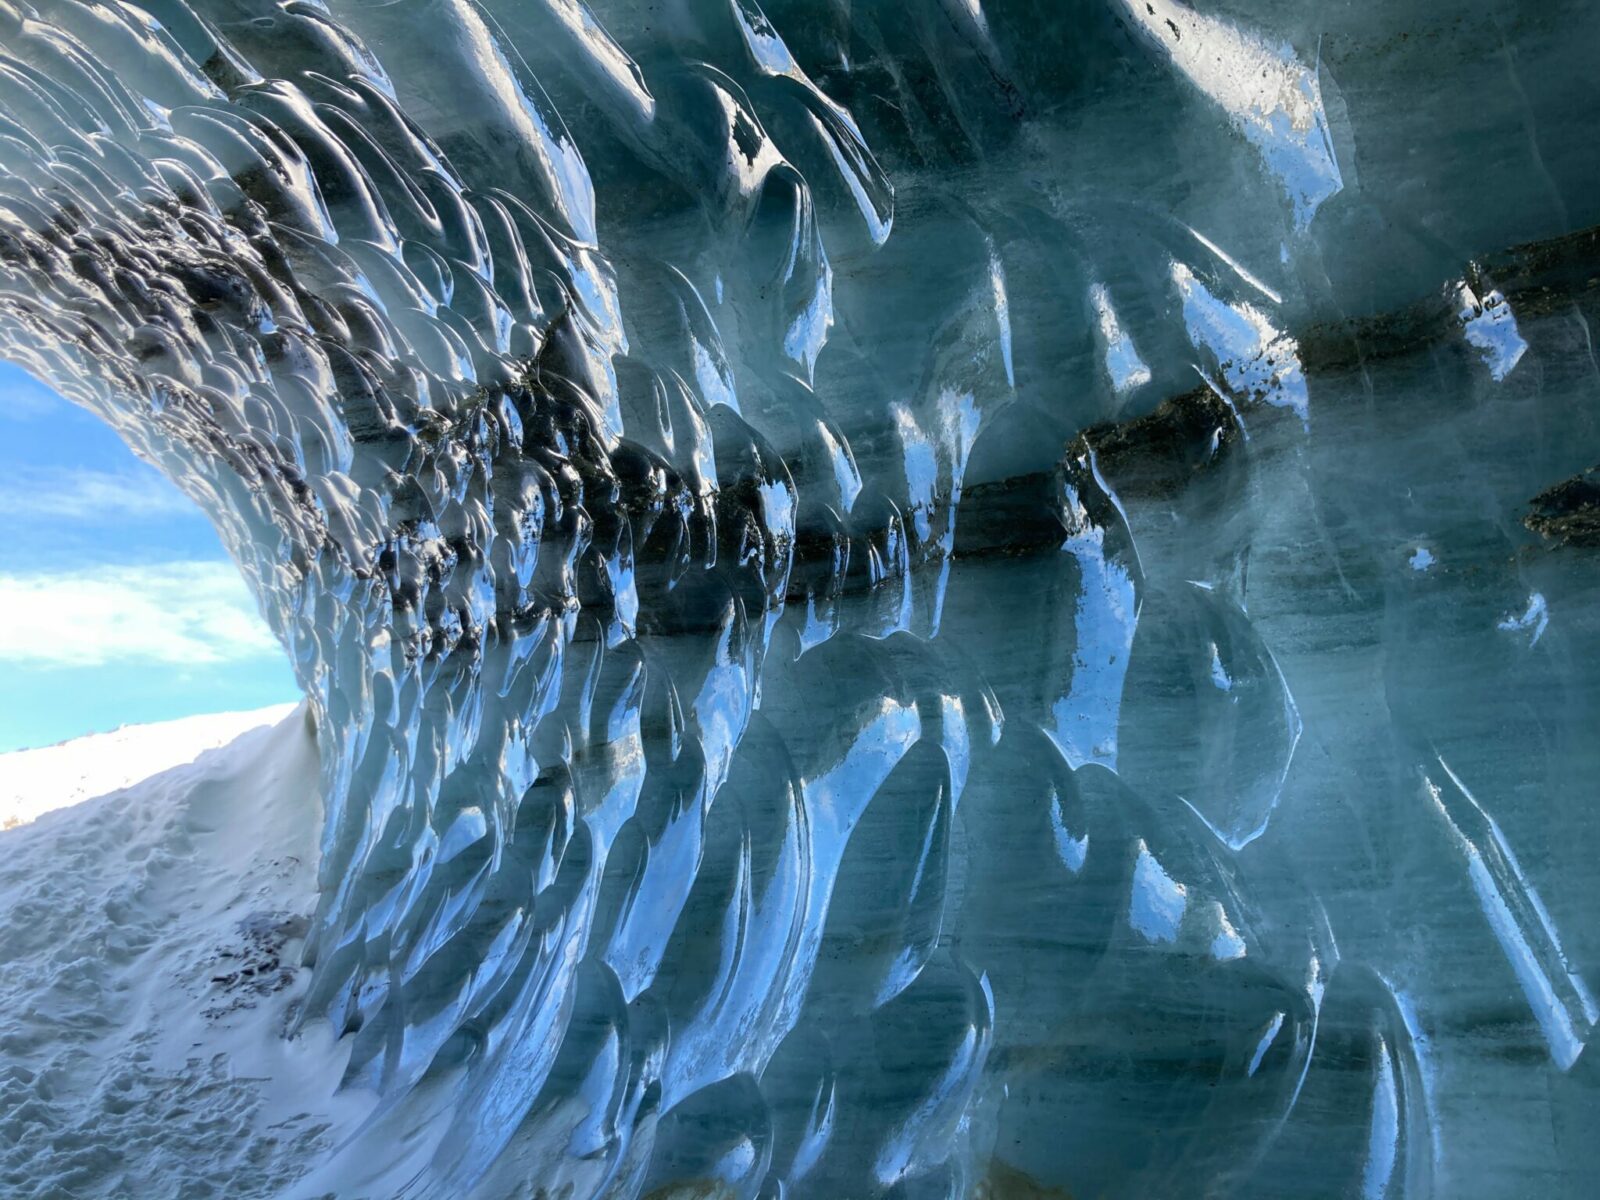
Make sure to look up as the hoarfrost in the cave is really beautiful to look at. It’s also fascinating to see all the layers of ice and the gravel and rocks that are lodged in the ice.
Castner Glacier tours
You can take a hiking tour to Castner Glacier and to the ice caves with a guide in both winter and summer. The tour does not include transportation, however for an additional fee transportation from Fairbanks can be arranged.
Even with a guide, exactly where you can go will depend on the conditions at the time of your visit. Going on a tour with a guide will help keep you safe and comfortable, especially if you are not familiar with back country travel. Different amounts of time and distances of hiking are available for visitors with different ability levels.
What to wear and bring to hike to Castner Glacier
Castner Glacier is in a location that can be extremely windy, especially in the winter. Make sure you can cover up all your skin for a winter hike. I also recommend bringing layers because if it’s not windy, you might get warm even in winter and want to shed a layer for a bit. In late winter the sun starts to get intense (even when it’s cold) so make sure to bring sunscreen and lip balm with sunscreen.
In winter you might want to bring microspikes (like tire chains for your feet) or snowshoes if there’s recent snow.
In summer you absolutely need waterproof footwear and a good rain jacket as well as sun and bug protection.
Castner Glacier is in a remote area without cell phone service, so make sure to bring food, water and extra layers. You will need to be self sufficient and prepared for any weather.
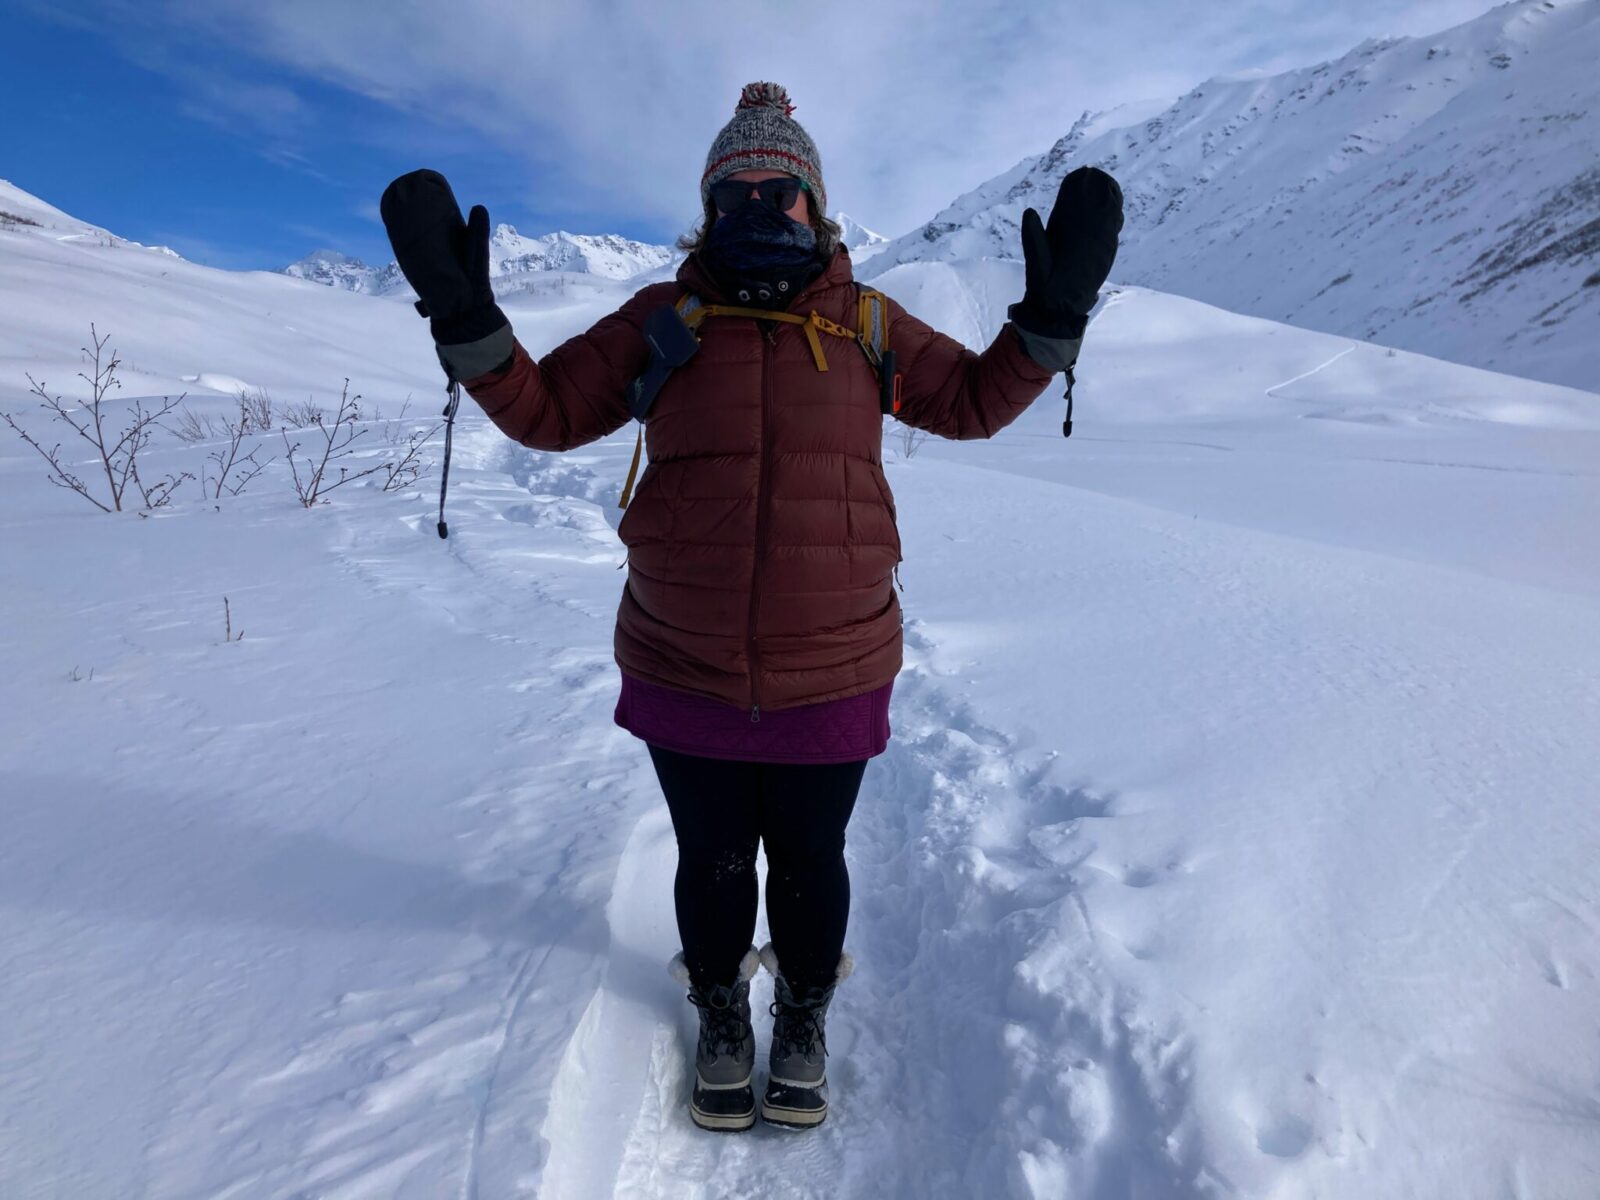
Learn more about the specific products I recommend for year round hiking here: what to wear for a hike in the Pacific Northwest and Alaska, what to bring on a hike in the Pacific Northwest and Alaska
Where to stop after your hike
There are not many options for stopping along the Richardson Highway between Fairbanks and Castner Glacier. However there is a fantastic option in Big Delta Brewing Company in Delta Junction. Big Delta has wonderful food, including the best sandwiches I have ever eaten in Alaska as well as really good salads and pizza.
They also have wonderful beer! Their own Ivar’s Ale is one of my personal favorites. They also have other beers from Interior Alaska on tap.
Final Thoughts
Castner Glacier is a wonderful adventure for those who want to get up close to a glacier during winter. During summer it still makes for an enjoyable short hike, though I would not recommend approaching the ice cave or the glacier without a guide.


